Adding your booking calendar to your WordPress pages and posts is simple and easy; you can do this with a few clicks. Please follow the steps below to quickly integrate your booking calendar seamlessly into WordPress.
– Open up your WordPress admin page and browse to the ‘add plugin’ page (select ‘Plugins’ from the main menu on the left and then click on ‘add new’).
Click on the ‘search plugins’ text input and start typing the word ‘smoothbook’. You should see the Smoothbook plugin listed as shown:
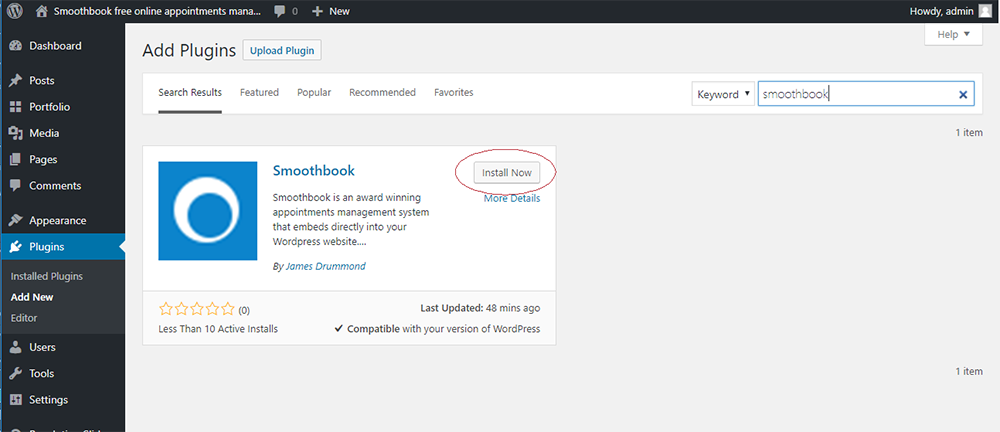
Click on the ‘install now’ button to add the Smoothbook plugin to your WordPress installation – you should see the ‘installing’ icon and then the blue button caption should read ‘activate’.
Click the ‘activate’ button. You should now see a Smoothbook menu item in the main menu on the left:
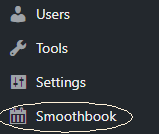
Smoothbook WordPress plugin menu item
Click on the Smoothbook menu item as shown above. This will take you to the Smoothbook plugin configuration page.
We need to know which organisation’s calendar we are linking to. To do that enter the email address of an organisation owner into the text box and click submit. If the email address is correct, you will see the name of your organisation listed and a preview of your embedded calendar below that.
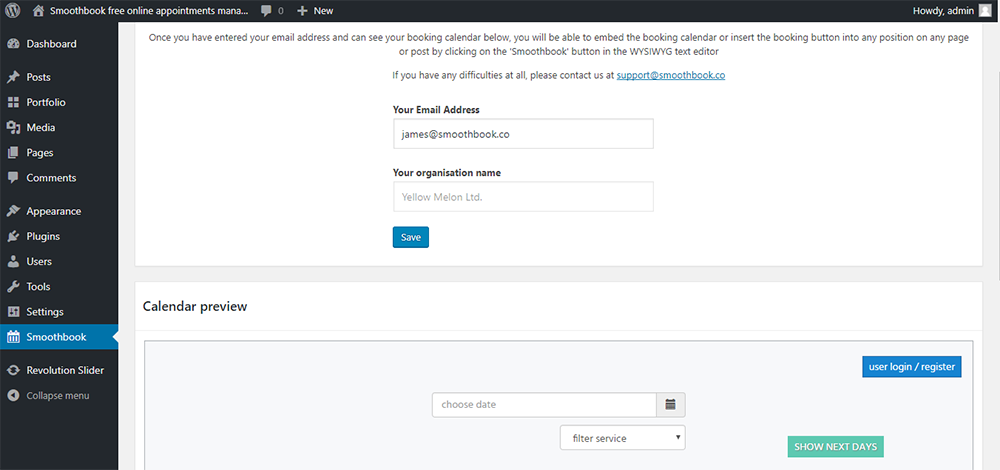
Smoothbook appointments plugin configuration
That’s it! Please click here to see how to add your booking calendar to your WordPress pages and posts.