This page gives information about creating charges for single appointments and creating / managing appointment packages or class passes. For information on creating memberships and subscriptions for your users, please click here.
For more information on managing your user’s package balances please click here.
Initial setup
Select ‘settings’ from the main menu and click on the ‘charging’ icon. This will bring you to the charging configuration page.
You will need to connect your Stripe account to Smoothbook. Simply click the ‘connect to Stripe’ button and follow the instructions. If you do not have a Stripe account, you will quickly and easily be taken through the process of registering for one.
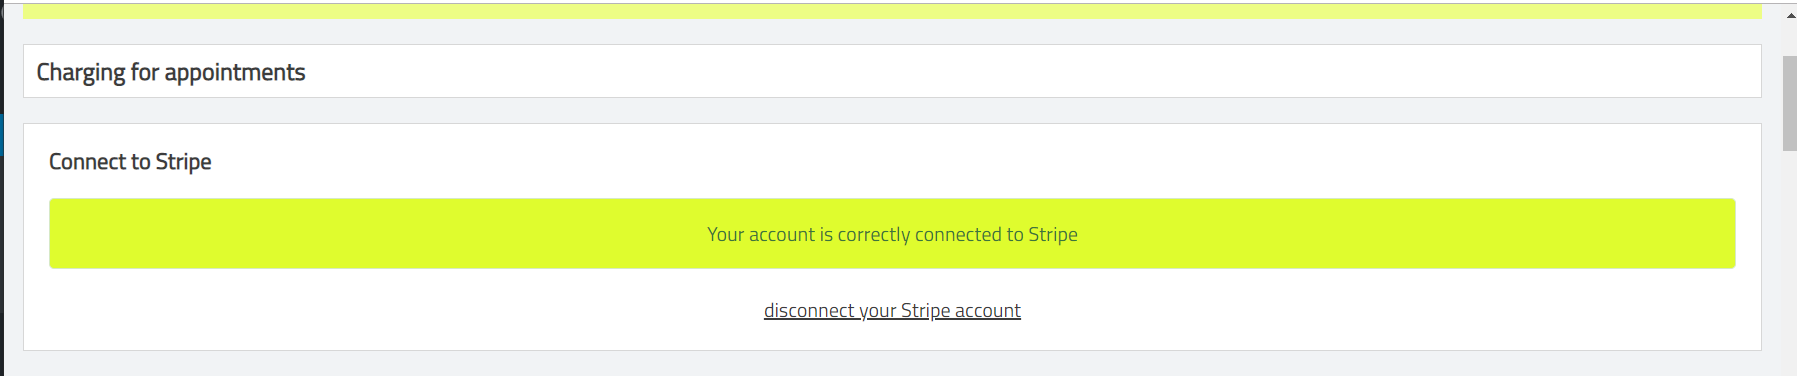
If the top of your charging page looks the same as above you will be able to configure your settings for charging.
General
If you create a charge against a service – either a single appointment charge or a package then your users will be required to choose and pay for a payment option before they are allowed to book.
Make sure you are charging in the correct currency. You can choose your currency from the currency dropdown.
You can create as many payment options as you like for each service. Generally you should limit the number of payment options so as not to confuse your users.
Single appointment charges
You can create a charge per appointment for a service. So if the user wants to book four appointments they will need to pay 4 X the single appointment charge. If, in addition, you create packages for the service these will be offered in addition to the single appointment charge.
- We’re very sorry but if your user cancels their appointment then refunds are not managed automatically – you will need to go into your Stripe account and process the refund there.

Packages / class passes
You can ‘packages’ that your users can buy. You can create as many of these as you like for each service and offer them in addition to any single appointment charges the service may have.
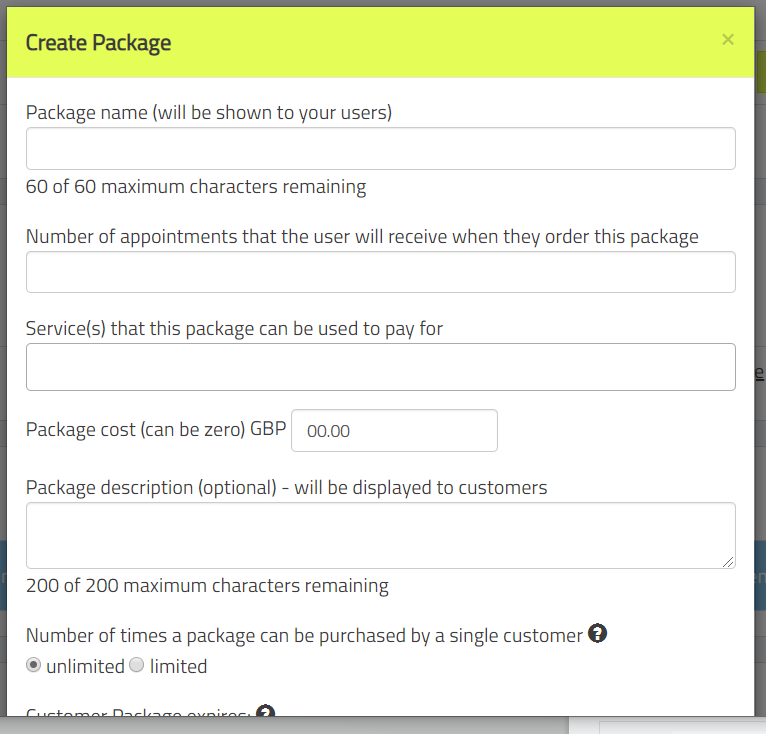
A package represents a certain number of appointments for a given price (the price may be zero). So usually this is a way of offering a discount to your users – ten appointments for the price of eight for example.
- You can limit access to a package by requiring the submission of a coupon code before a user can purchase one.
- You can limit the number of times a user can purchase a package.
- You can set an expiry on a package: so a user’s package will no longer be valid on a certain date / a given number of days after purchase.
Simply click on the ‘create package’ button and follow the instructions.