You can create customised forms in Smoothbook that are presented to your users when they register and / or book.
Please note: it can be frustrating for your users to have to answer numerous questions when they are trying to book – particularly when they are using their mobile devices. We strongly recommend using as few form items as possible and preferably only a registration form (which they will only have to complete once).
There are two types of form: registration and booking forms. Registration forms are completed (usually once) when your users register; booking forms are completed every time your users book. You can require that your users complete the registration form every time they book (not recommended); you can create different booking forms for different services.
At present Smoothbook only supports text fields and text areas in forms (i.e. no dropdowns, etc.). This is something we’re working to change!
The EU GDPR – your legal responsibilities
Important: when you collect information from your users you become, according to EU law (the GDPR), a data controller. As such you have legal responsibilities regarding the use of your user’s data – particularly if you have not obtained your user’s permission to use their data in such a way. The good news is that Smoothbook is fully GDPR compliant and, when you create custom forms, you can create a prompt to obtain permission from your users to use their data in the way in which you intend. We are not lawyers (and this is not legal advice) but we’ve studied the GDPR extensively: just be sensible and responsible about the data you collect, obtain consent using Smoothbook and you’ll be fine!
Creating and managing your forms
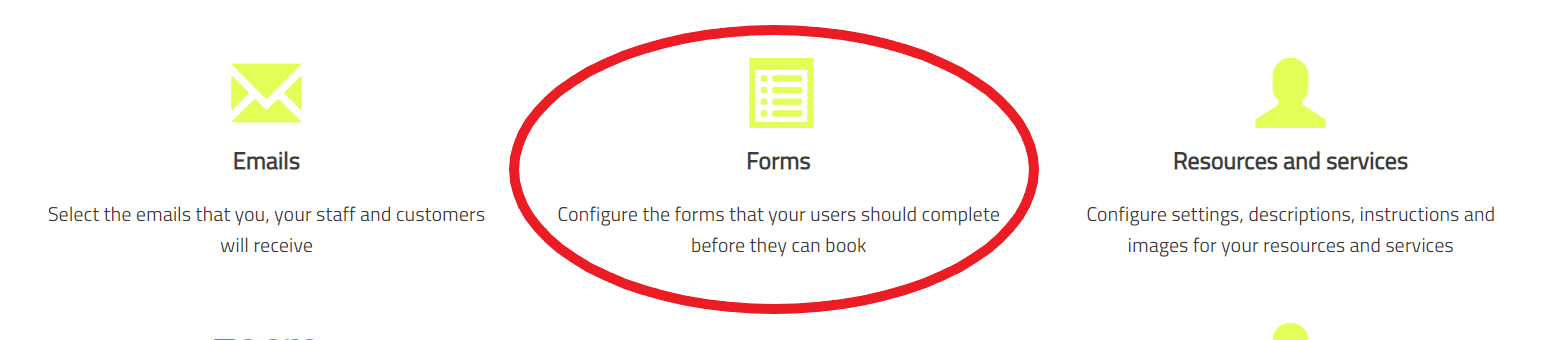
Please select ‘settings’ from the main menu and click on the ‘forms’ icon:
The first thing you’ll see is your GDPR declaration. This just needs to be a simple message to your users as to why you are asking the questions you’re asking.
Next you’ll see two columns: one for your registration form (there can be only one) and the other for your booking forms. Simply click the ‘add form item’ button to create your form item, the form item consists of a label and field, you can optionally make the item required (your users will have to answer the item before they can proceed. Click save and that’s it.
Ordering your form items
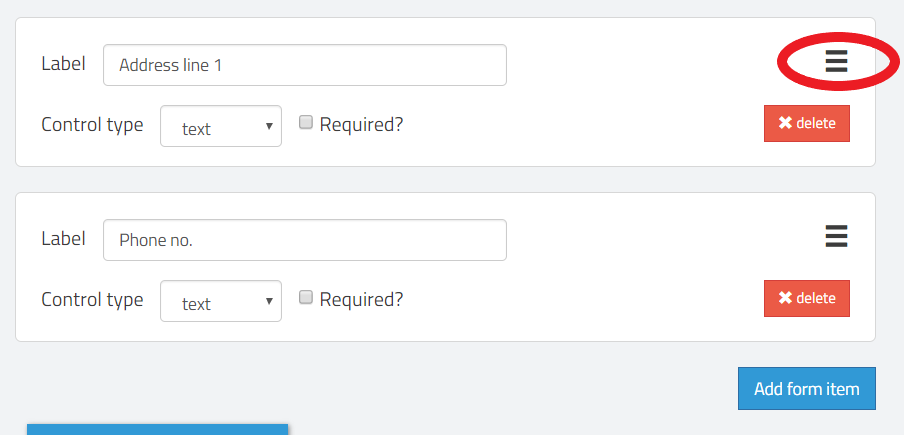
You can arrange the order of your form items as you like. To do so just drag and drop the form items into the order you like by clicking and holding the ‘hamburger’ icon top right and dragging the item to its new place in the order:
Different booking forms for different services
You can create a booking form that applies to all of your services or you can create a form that only applies to a particular service. In the ‘booking forms’ column you’ll see a dropdown labelled ‘choose service’. Simply choose the service that you’d like to create the form for and create your form as usual.